Tuesday, January 24, 2017

A New Year... 2017. Rejoice 2016.

Wishing everyone a very Happy New Year....

It was a huge year here at Cookie Queen Kitsch'n which was evident in that I had zero time to blog after January break, disppointing in my lack of time, great from a business point of view.  

We were supported very well again in 2016 by our great onseller and pop up party company that we love working with - All In All Parties - be sure to check them out for all your party needs.  Lisa and her team specialise in Pop Up Party Packages in a number of inclusions, our recommendation is the "Sit Back & Relax" Package and they take care of all of your event needs and you literally sit back and relax.  2016 saw us work with All in All Parties at least twice a month or more and we created some fabulous tables with them, from Superheros, to Masterchef, to Princess to Pool Parties! The sky is your limit.

We have also teamed up with Bop Til You Drop  in 2016 and are now the Party Favour supplier for their events.  We are very excited to be working with them in 2017 to bring you some Custom Disco themed cookies along with an option of a fantastic Exclusive Cutter Design. Totes Excited!

The biggest news I have is that we have a NEW Website about to launch, currently www.cookiequeenkitschn.com.au points to our facebook business page that has been running for the past 7 years, but times have changed, things have grown, and we need to spend less hours on the tailored quotes that keep me up every night, many quotations can be above peoples expectations so....... we have designed some easy packages to help make the decisions easy to construct a Dessert Table.

Keep your eyes peeled.

For your 2017 Birthdays, Parties, Special Occassions and Corporate Events please ensure you email us at cookiequeen@y7mail.com


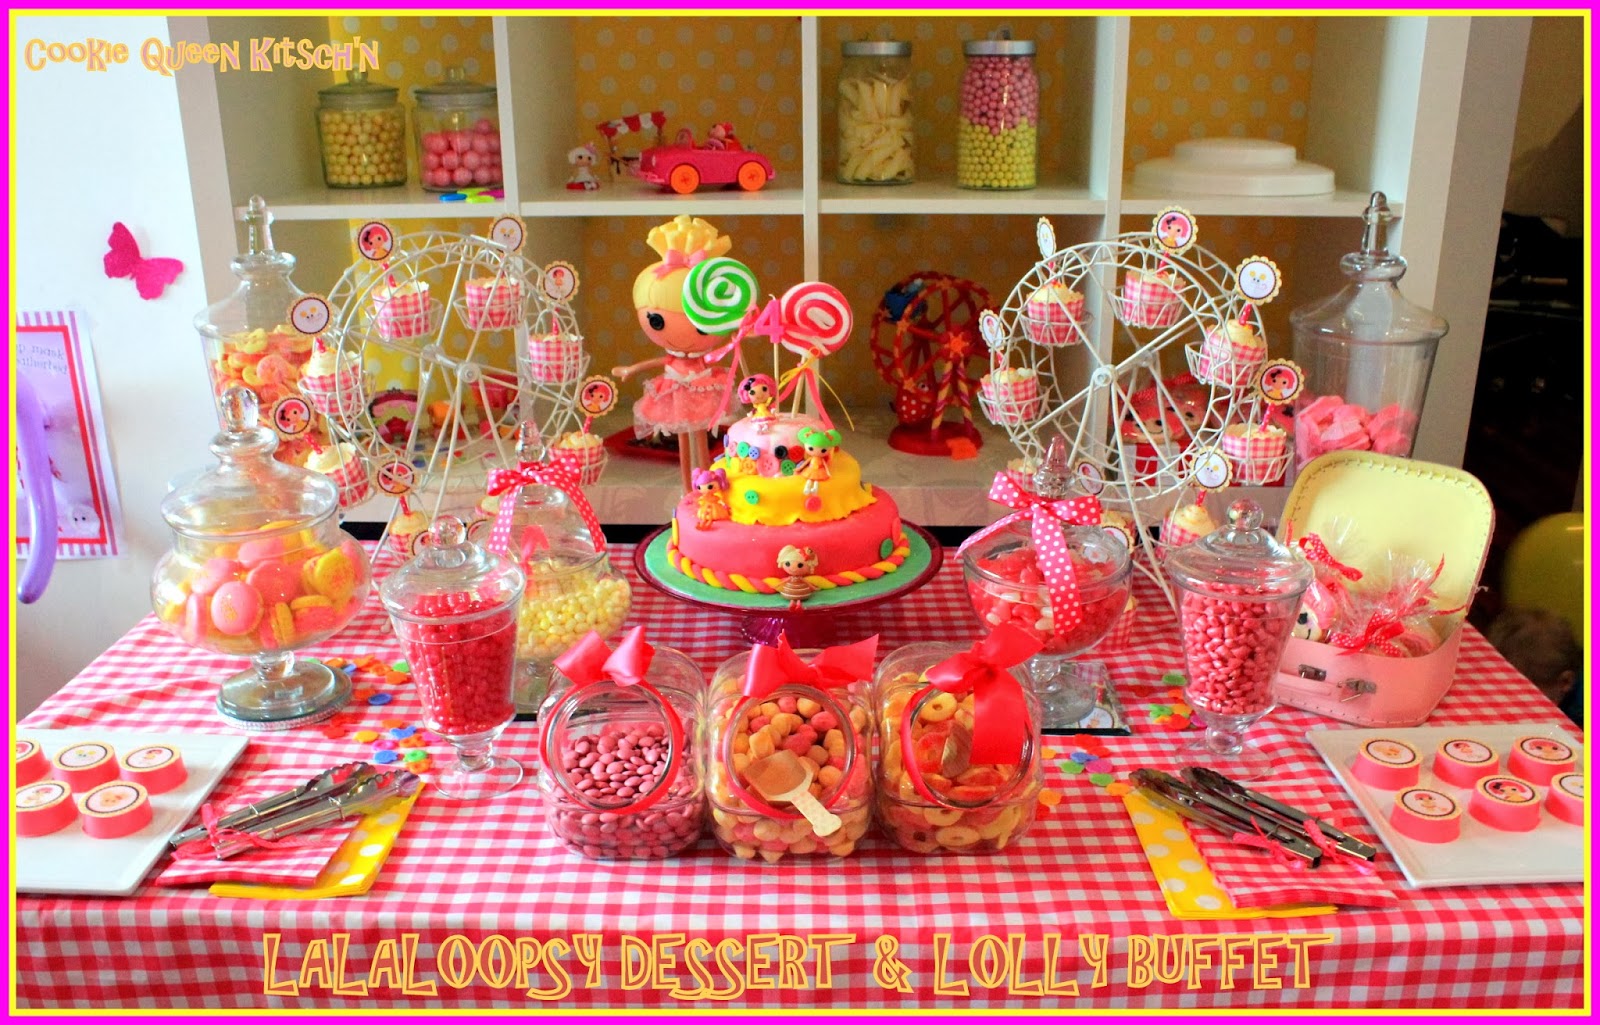
These are our 2017 Dessert Table Highlights


Monday, January 4, 2016

Road Test - Meyer Lemon Pound Cake by Williams Sonoma

Road Test

Meyer Lemon Pound Cake
by Williams Sonoma

I have decided to try out and rate a few off the shelf items this year if I get a chance to squeeze in a few things each month, we'll see how I go on this journey.

The one thing I find with "packet cakes" is that they rise more and stay fresh for longer, the 2nd is the reason I do not make them very often, because to stay fresh longer means alot of preservatives, and numbers in them.  However sometimes they have their benefits, if time isn't on your side, you cannot bake on the day or the day before an event, or if you have to freeze it.  All these are valid reasons in my book to use a packet.

Number one reason to not use a packet = a customer is paying you to bake! Because they are paying you to actually bake, from scratch!

So first cab off the rank is this quite expensive version of a Meyer Lemon Pound Cake.  However it is utterly and insanely delicious!

Here goes....

You will need:
200g Butter Room Temp
1 x Box of Williams Sonoma Meyer Lemon Pound Cake
2 x Large Eggs
1/2 cup Water

Preheat oven to 180 (or 350) degrees.  Cream the butter until pale in an electric mixer.

Then add both eggs. Beat well.

Add half the packet and half the water, mix on low.

Add 2nd lot of packet and water and mix then turn mixer to high for one minute.

Pour the mix into a prepared pan (prepared means greased with butter or spray oil and then coated in a dusting of flour).  It is recommended to use a loaf pan however given packets rise more I chose to use a small spring form round.

Bake for 60 mins, use a wooden skewer to test it is ready before you remove from the oven.  When ready, remove and let cool for 15-20 mins in the pan.  Then pop out of the pan.  I chose to ice with lemon glaze whilst still slightly warm as it has a great finish.

Lemon Glaze
1 cup Icing Sugar
1/2 Lemon Rind
1/2 Lemon Squeezed

Mix togther until the icing sugar is completely dissolved.  If not runny like thickened cream then add a teaspoon of milk.

Pour in the centre of the cake and the warmth of the cake will cover it smoothly and evenly.
Serve.

Thursday, December 31, 2015

TOP 9 Kids Birthday Parties of 2015

Merry Christmas and Happy New Year to one and all....

It has been a crazy year here at Cookie Queen Kitsch'n and as you can seen there wasn't alot of time for pleasure baking or blogging.

We hit the ground running last January and didn't stop all year, it was huge for Kids Birthday Parties, with Candy Bars and Dessert Buffets.  Here are my Top 9 on most liked posts, it was hard to choose but these were all fabulous events.  My May 2015 last year was booked up by Feburary and I am again half booked for the month with my loyal fans!

So if you have an event or birthday party this coming year in 2016, get your booking in early.  Email me at cookiequeen@y7mail.com


Friday, December 18, 2015

Great Food Blogger Cookie Swap 2015 - Salted Double Chocolate Caramel Stuffed Cookies

I have once again joined the The Great Food Blogger Cookie Swap which runs annally each year internationally, and is hosted by : Julie Tran from The Little Kitchen  & Lyndsay Landis from Love & Olive Oil.

This year I have opted out of my decorated cookies because with my business I just have not had the time to stretch myself.

So this year we have my favourite cookies which are totally delicious!!!

Salted Double Chocolate Caramel Stuffed Cookies

Ingredients
2 1/2 cups Choc Chips (I do dark to get the rich colour result)
1/4 Cup Butter
3 Eggs
1 Cup Golden Castor Sugar (for extra special flavour)
2 tsp Vanilla Essence
1/2 tsp Salt
6 Tbsp Plain Flour
1 tsp Baking Powder
3 Tbsp Dutch Cocoa
2 tsp Chocolate Spice Mix
20  Caramels - cut in Half (I use Columbines as I am in Australia)
Fleur De Sel (Salt on top to bake)

Makes - 24-30 Cookies

Method
Place 1 1/2 cups of choc chips into a double boiler and melt and combine in the butter.

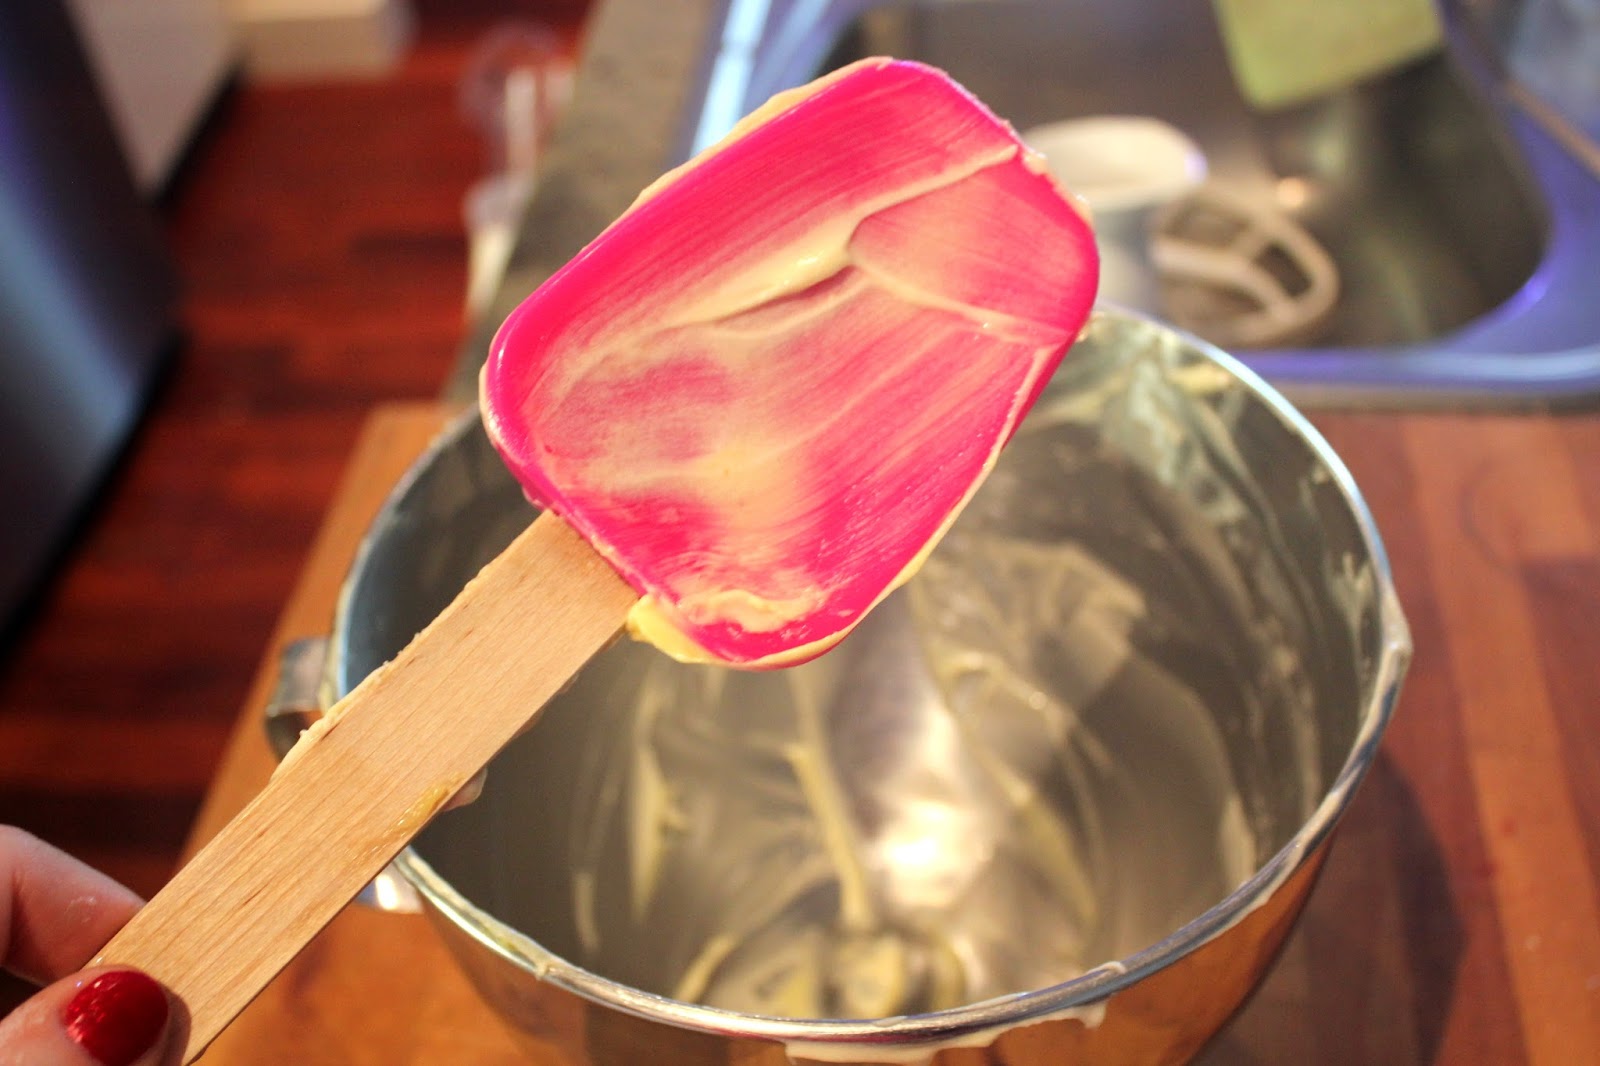
Place the eggs. sugar, vanilla and salt in the mixer and mix together thoroughly.

Swap to a spatula/wooden spoon. Then add in the flour and baking powder along with the cocoa, chocolate spice mix (I purchased from a German Spice Shop in the Strand Arcade Sydney - Gewurzhaus) and mix together very well so there are no white streaks present.


Cover and place in the fridge for 1-2 hours.

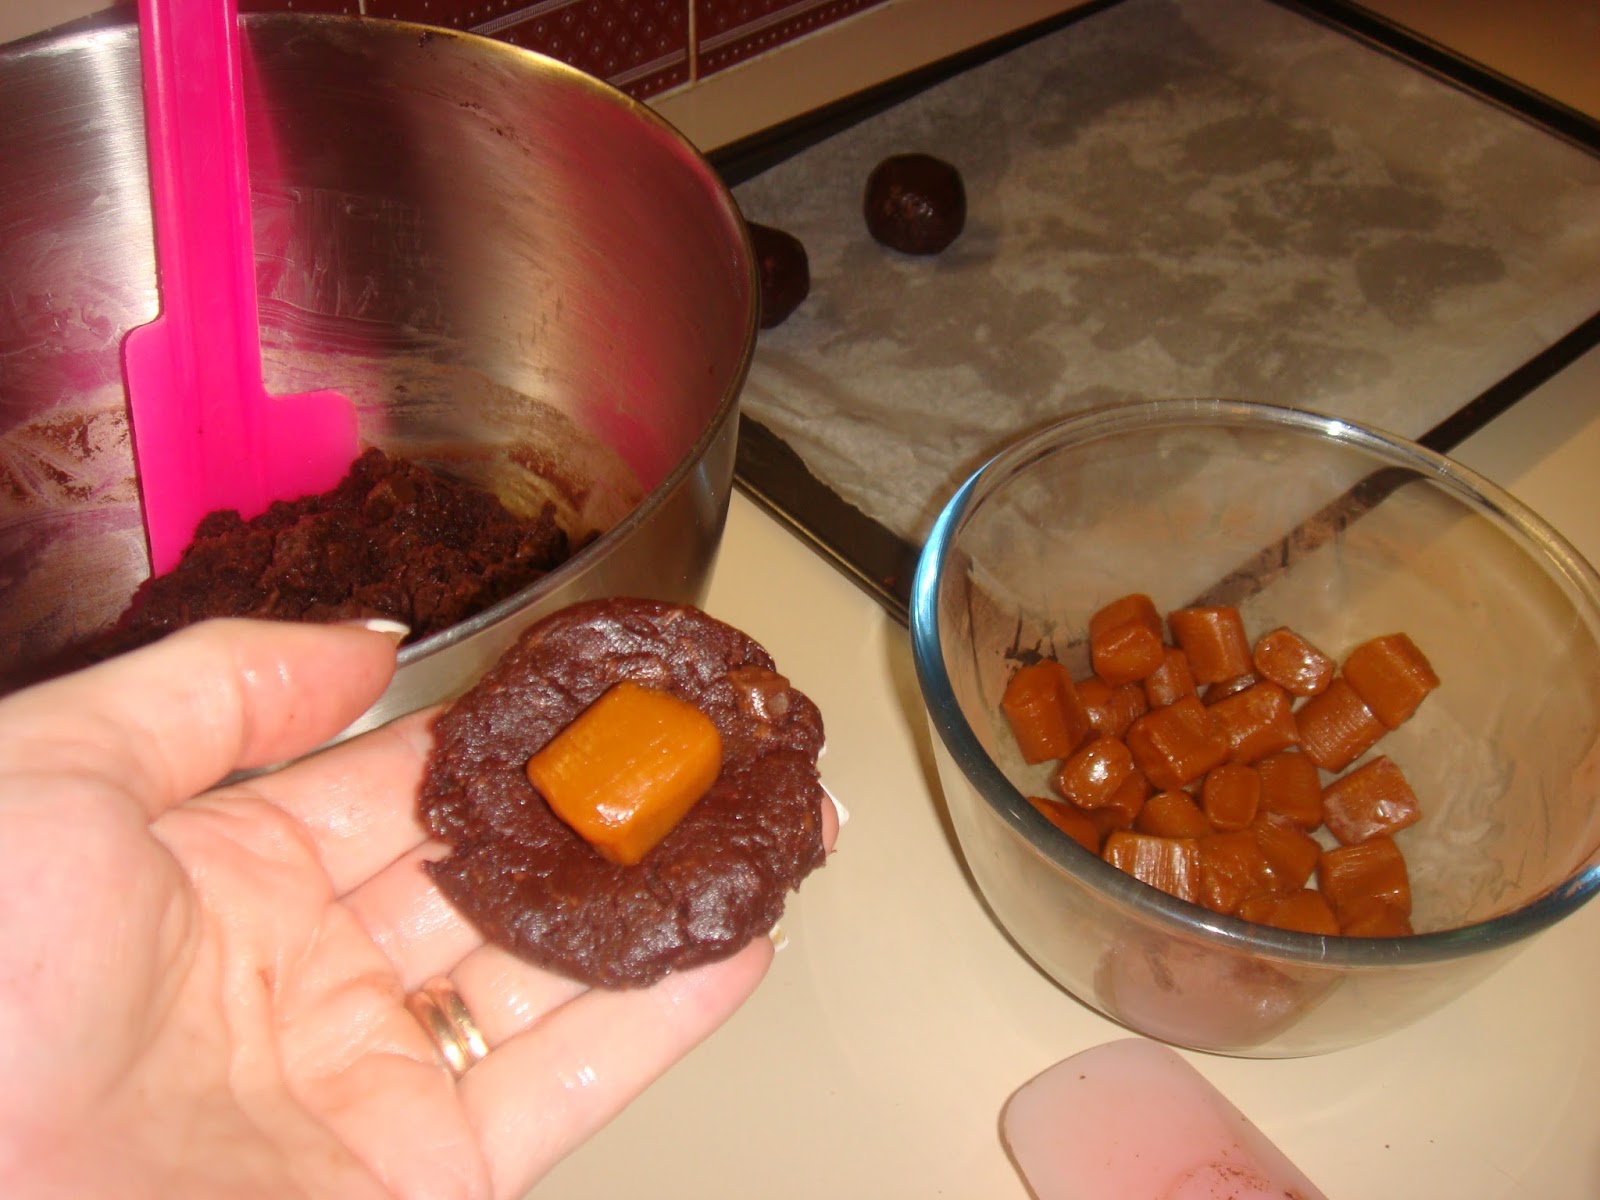
Take out of the fridge and roll a tablespoon size of dough, then dip a hole using yor thumb and pop a half piece of caramel into the dough and roll up into a tight ball.  Place the cookie dough ball onto a baking tray.  Repeat and line tray leaving about 3 inches between each ball to allow for speading as these will become about 2-2.5 inches wide.

Press down on dough balls to flatten slightly.  Sprinkle the tops of cookies with the Fleur De Sel (or sea salt if you cannot obtain).

Bake for 10-12 minutes.

Cool for 15 minutes.

*Note Im late in posting and my recipients will receive this coming week before Christmas.

Thursday, October 22, 2015

Cookbook 5 : Honestly Healthy by Natasha Corrett - Honey Banana Loaf


If you wish to purchase, please do so.  It is available at Glee Books (based Glebe and Dulwich)  or Booktopia : http://www.booktopia.com.au/honestly-healthy-natasha-corrett/prod9781906417819.html

Honey Banana Loaf

3 Ripe Bananas - mashed
1/2 cup Apple Puree
2 Eggs
1 Tbsp Coconut Oil
2 Tbsp Honey
1/2 cup Organic Coconut Flakes
1/2 cup Organic Sultanas
2 cups Whole Wheat Flour
1 tsp Bicarb Soda
3 Tbsp Quinoa Flakes
3 Tbsp Fibre Cleanse
1/3 cup Honey-Roasted Museli (plus extra to scatter across the top)

Grease and flour to prepare your cake tin.  Preheat the oven to 180 degrees.

Place the bananas and apple puree in the mixer bowl and mix to a runny paste.  Next add your eggs one at a time and mix well.

Add in your Coconut Oil and Honey and mix through the banana mixture.

Next add in the Coconut Flakes, Sultanas, and then the whole wheat or spelt flour with Bicarb Soda. Mix well.

Combine the Quinoa Flakes and Fibre Cleanse into your mix, keeping your mixer on a medium speed.  Finally sprinkle in the Museli and stir through with a spatula.  Pour your mixture into the prepared pan.

Place the cake pan into the oven for 45 minutes or until golden brown and a skewer comes out clean.


Tuesday, October 6, 2015

Cookie Parade : Dessert Buffets & Candy Bars - Made to Order

As you can see I have been quite quiet on the homefront, well on the blog, recipe baking has been on the low this past 18 months.  On the other hand its been crazy busy on the work side of things.  Business is growing every week, we outgrew the house where my business is based and 5 months ago we had to get an external storage facility to move out all the partyware.

Did you realise that I can cater for all your party setup needs?  Cookie Queen Kitsch'n specialises in Dessert Buffets and Candy Bars. I thought I would share some recent Party Setups and Tables, I was recently blogged by Little Wish Parties on their blog promting the Cars setup I did which was amazing.

For a quote just send an email to : cookiequeen@y7mail.com


I would have to say this "You Are My Sunshine" setup has been deemed my fav of 2015, it was fun, cute, perfect colour combo to work with.  It all just tied in beautifully together.
Personalised Backdrops with design and printing are $108 each.  A personalised backdrop sets off any table beautifully, it also doubles as your party theming and decoration as it is 1000mm x 1600mm in size.
 
Custom Desserts to match any theme are available.  Featured here are Lemon Meringue Pushpops with a Pink Sherbet Topping.  Followed by Strawberry Marshmallow Pudding Pots.  Also featured on this table setup were:
Raspberry Jelly Pots, Passionfruit Jelly Pots, Lemon & Coconut Cupcakes, Sunshine Cookies, Personalised Chocolate Bars, Cotton Candy Swizzle Sticks and a Candy Bar.


For a Winter Boys Party we recently had a fantastic Soccer Star Party.  This backdrop is available for hire.  The setup was done at the Five Dock Indoor Sports Centre on Queens Rd.  The Candy Bar which included Soccer Gumballs doubled as the guest take-home favour bags which the kids fill themselves.
The setup included:
Candy Bar, Pushpops (centre in stand), Marshmallow Pops, Choc-Coated Oreos, Cupcakes (by Kake Krumbs), Personalised Chocolate Bars and a Cookie Name Plate.


Marshmallow Pops

Personalised Chocolate Bars & Choc-Coated Oreos 

Pushpops - Vanilla Cupcake with Lime Raspberry Frosting

Have you got an upcoming event?  Send me an email for a quote today for a fabulous Dessert Buffet or Candy Bar.

Thursday, July 2, 2015

The Delicious Donna Hay's Cauliflower & Parsley Crocquettes

It was creeping up to Good Friday, and I always spending Good Friday craving meat so to not have that happen this year, I planned well in advance a recipe that I really wanted to try, so instead of craving meat I couldn't wait to try this new recipe I found.

I will heed warning now, that this took alot longer than I anticipated to make, it was fiddly and alot of steps for a small dish of 12 small croquettes. Next time I would also try a more neutral oil to cook the croquettes in, as I found that they soaked up alot of vegetable oil and it over took the fresh taste of the vegetable flavours.

Cauliflower & Parsley Croquettes

200g Cauliflower
250g Potato
1 cup Parley - chopped
1 cup Parmesan Cheese - grated
1/2 cup Mozzarella Cheese - grated
1 Tbsp Olive Oil
4 Slices of Bread
Salt & Pepper
1/2 cup Flour
Vegetable Oil - for frying


Place the slices of bread into the food processor and run until fine breadcrumbs. Set aside.
Take the potatoes and peel, dice and boil in a small saucepan until soft (about 15 minutes in boiling water).  Drain the potatoes and place into a heatproof bowl and smash with a fork until fluffy.

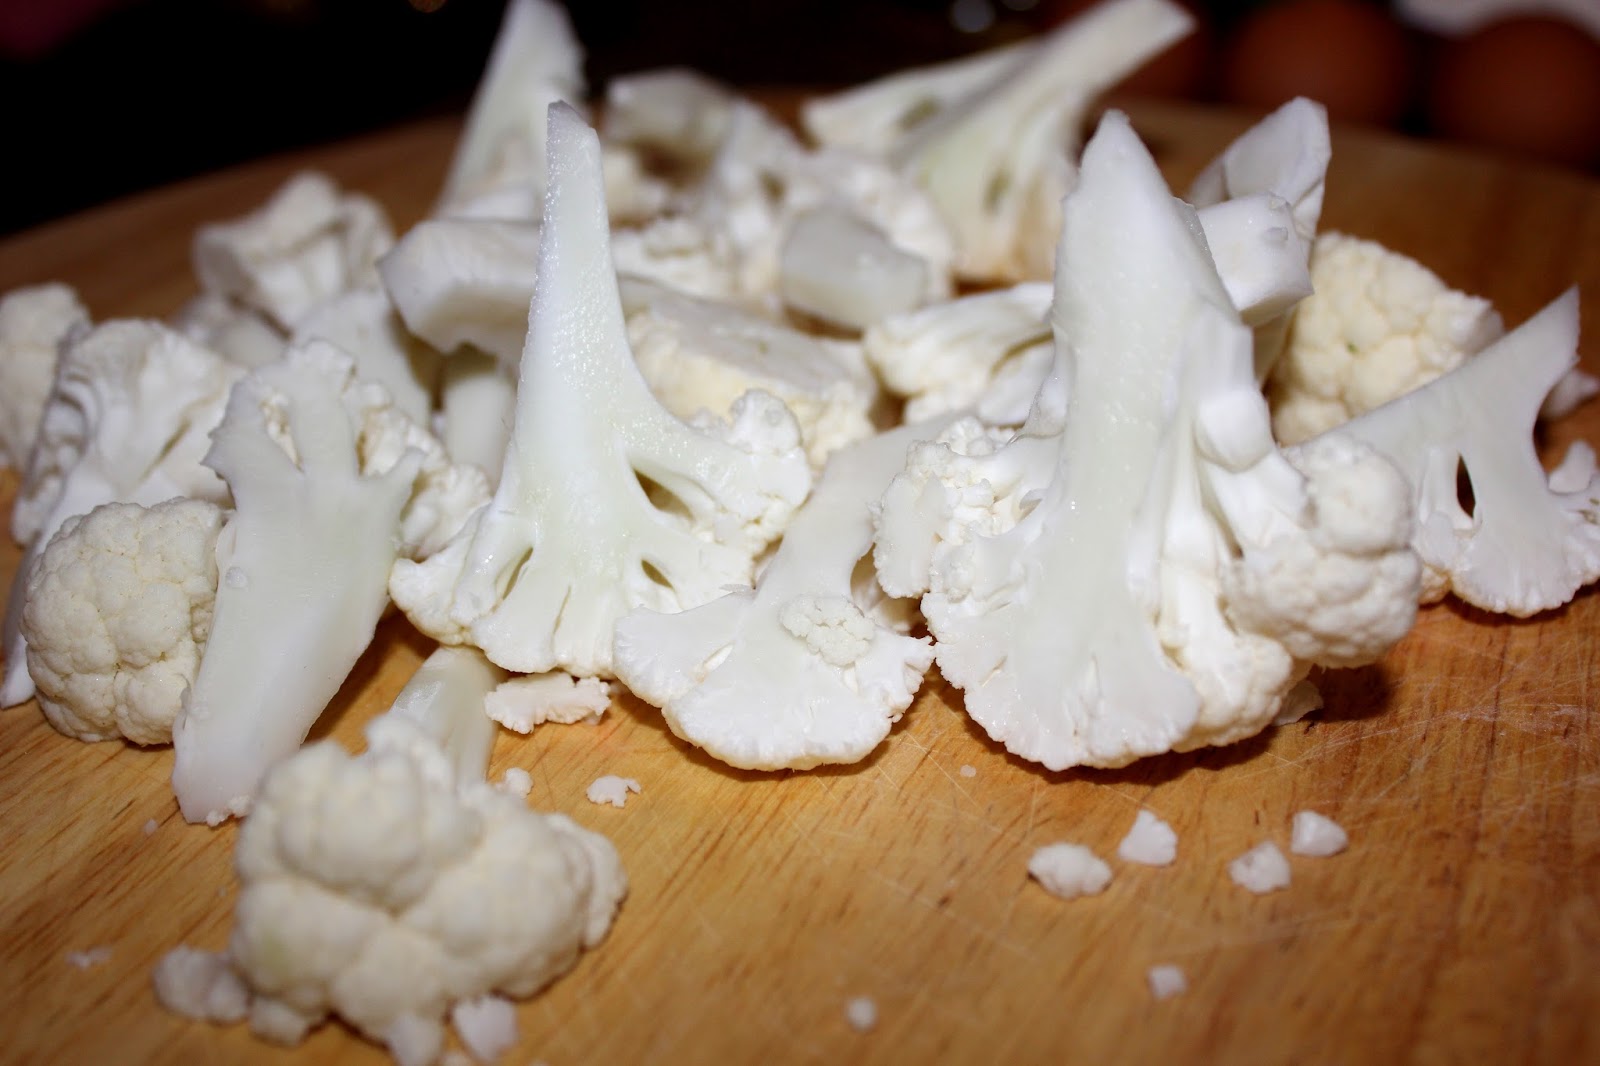
 Dice up the cauliflowers and pulse in the food processor.
 Then place the potato, cauliflower, parsley, cheeses, olive oil and 1 of the eggs into a large mixing bowl.  Using a fork or your hands mix the ingredients together thoroughly until it has formed a thick paste consistency and it is able to form shapes easily.
 Taking a small handful an approx size of 2 tablespoons into your hands and form a small oblong shape, pressing firmly together in a cylinder shape.

 Continue to do this until you have done this to the entire mix.  I got 14 croquettes.  Prepare your next stage, take 3 small bowls and place flour in one, crack 2 eggs into bowl two, and breadcrumbs onto the third.

Using these bowls, take the first croquette and dunk into the bowl flour and coat well, then straight into the bowl of egg and coat the entire croquette and finally straight into the breadcrumbs.  Then carefully place the croquette onto a clean dry plate.  Continue process until all of the croquettes are done.  Place the plate of croquettes into the fridge to firm the and set coatings for about 20-30 minutes minimum.
 To commence the cooking, place a large frypan on the stove top and put in the vegetable oil to heat, filling about 1/4 to 1/3 of the pan.  Test oil has heated by dropping in a piece of bread and it if crackles its ready if nothing happens its not.

Place all the croquettes into the pan.  Cook turning as each side goes golden so it cooks evenly and no sides overcooks.  This takes about 10-15 minutes.

Place onto paper towel to drain the excess oil before serving. Enjoy with a mayonnaise or aoili.

Thank you to Donna Hay for another delicious recipe for us all to enjoy.


Saturday, January 4, 2014

Welcome to 2014! Happy New Year!!

Ring in the New Year!

I am starting out this new year with a bang, and hopefully one that continues throughout the coming year.  I am hoping to Blog 3 times per week now that I am a WAHM with a 4yo (who is starting preschool net week), and running my business from home which I found to be thriving in the 2nd half of 2013!

My 3 posts per week I am planning them to be :
  1. A traditional post of a foodie creation, a love, a challenge or a hot recipe I want to try.
  2. An Honest & Healthy Recipe - creating or replicating a 'healthy' creation to inspire you.
  3. A business post from something I have done from my WAHM biz - Cookie Queen Kitsch'n.

This year with juggling a few things in my day to day life I have decided to make my Blog Posts more achievable, and last year with the cookbook challenge I had an epic fail in the blogging department.  I just stretched myself too thin, and I didn't cook as much as I use to, with my partner cooking a lot, and a lot of easy meals of sausages & 3 veg or pre-prepared meals (takeaway). Putting on a lot of excess kilos in the process.  So I am hoping that this year's Blog will help me shed the kgs and get our family eating plan back.... for some reason Im the only one who put the pounds on though!
Here is flashback of my 2013 in photos, where I enjoyed 3 major family holiday trips (Great Ocean Road Trip in Victoria Australia), Cradle Moutain, Bechino & our Road Trip in Tasmania, and our 4 day Romantic Getaway in Fiji, plus all the work for my wonderful customers. 2 Standout Buffets with my daughter's 4th Birthday and my surrogate Sister in Law's Baby Shower, plus some other snippits.